Breathe New Life Into Your Old Mac.
Upgrade your older MacBooks, Mac Minis, and iMacs to the newest macOS. Step-by-step guide, essential files, and premium support included.
How It Works
A simple, painless process to modernize your trusted machine.
1. Check Compatibility
Ensure your old Mac can run the upgrade using our central tool. Most models from late 2008 onwards are supported.
2. Get The Guide & Files
Purchase our secure, proprietary guide containing all the necessary patcher links and exact step-by-step instructions.
3. Install & Enjoy
Follow the onboarding process on your machine. We offer dedicated 1-on-1 messaging support if you get stuck anywhere along the roadmap.
Check Your Compatibility
Follow these quick steps to accurately confirm your device matches our database.
Open Apple Menu
Click the Apple logo in the top-left corner of your desktop screen.
Click "About This Mac"
Your exact Product Name is printed right there (e.g., MacBook Pro 13-inch, Mid 2012).
Find Model Identifier
Click System Report... to locate your pure Model Identifier (e.g., MacBookPro9,2).
Wir erwecken alte Hardware zu neuem Leben
UpMac ist die Lösung für Softwareupdates auf älterer Apple-Hardware, die offiziell nicht mehr unterstützt wird. Wir verbinden Ressourcenschonung, Recycling und Nachhaltigkeit.
Warum wir ältere Hardware lieben
Jedes Jahr werden Millionen voll funktionsfähige Computer verschrottet, nur weil sie keine Software-Updates mehr erhalten. Wir finden: Gute Hardware sollte leben!
Unser Ziel ist es, ältere MacBooks, iMacs und Mac Minis so lange wie möglich in Betrieb zu halten. Das schont wertvolle Ressourcen, spart Geld und schützt unseren Planeten.
"Vision: alte Hardware zum Leben erwecken"
Verantwortung für die Umwelt
Nachhaltigkeit ist kein Modewort, sondern unsere Kernphilosophie. Aus ressourcenschonenden, Recycling- und Nachhaltigkeitsgründen haben wir UpMac ins Leben gerufen.
Das Grün in unserem Logo steht symbolisch für diese Philosophie. Jeder Mac, der dank unserer Guides weitergenutzt wird, ist ein Gerät weniger auf dem Elektroschrottplatz.
Einfach, sicher & verständlich
Wir nehmen Ihnen die stundenlange Recherchearbeit ab. Unsere Guides sind benutzerfreundlich, Schritt-für-Schritt erklärt und für jeden verständlich.
Wir versprechen Ihnen eine voll funktionsfähige Anleitung. Und falls Sie doch einmal Hilfe benötigen, steht Ihnen unser persönlicher 1-zu-1 Support stets zur Seite.
Den Wert Ihres Macs steigern
Ein zuverlässiges Upgrade ist eine Investition, die sich direkt auszahlt: Ein Mac mit dem neuesten Betriebssystem erzielt auf Verkaufsplattformen wie eBay Kleinanzeigen spürbar höhere Preise. Käufer greifen lieber – und tiefer in die Tasche – bei Geräten, die sofort einsatzbereit sind und aktuelle Software unterstützen.
Gleichzeitig hebt sich Ihr Gerät mit der aktuellsten Software klar von der Konkurrenz ab. Während vergleichbare Macs mit veraltetem System liegen bleiben, verkauft sich Ihres schneller – oft zu einem besseren Preis. So wird aus einem alten Mac wieder ein gefragtes, wertvolles Produkt.
"Neueste Software = höherer Verkaufswert und schnellerer Verkauf."
Der Gründungsmythos von UpMac
Der geschenkte iMac
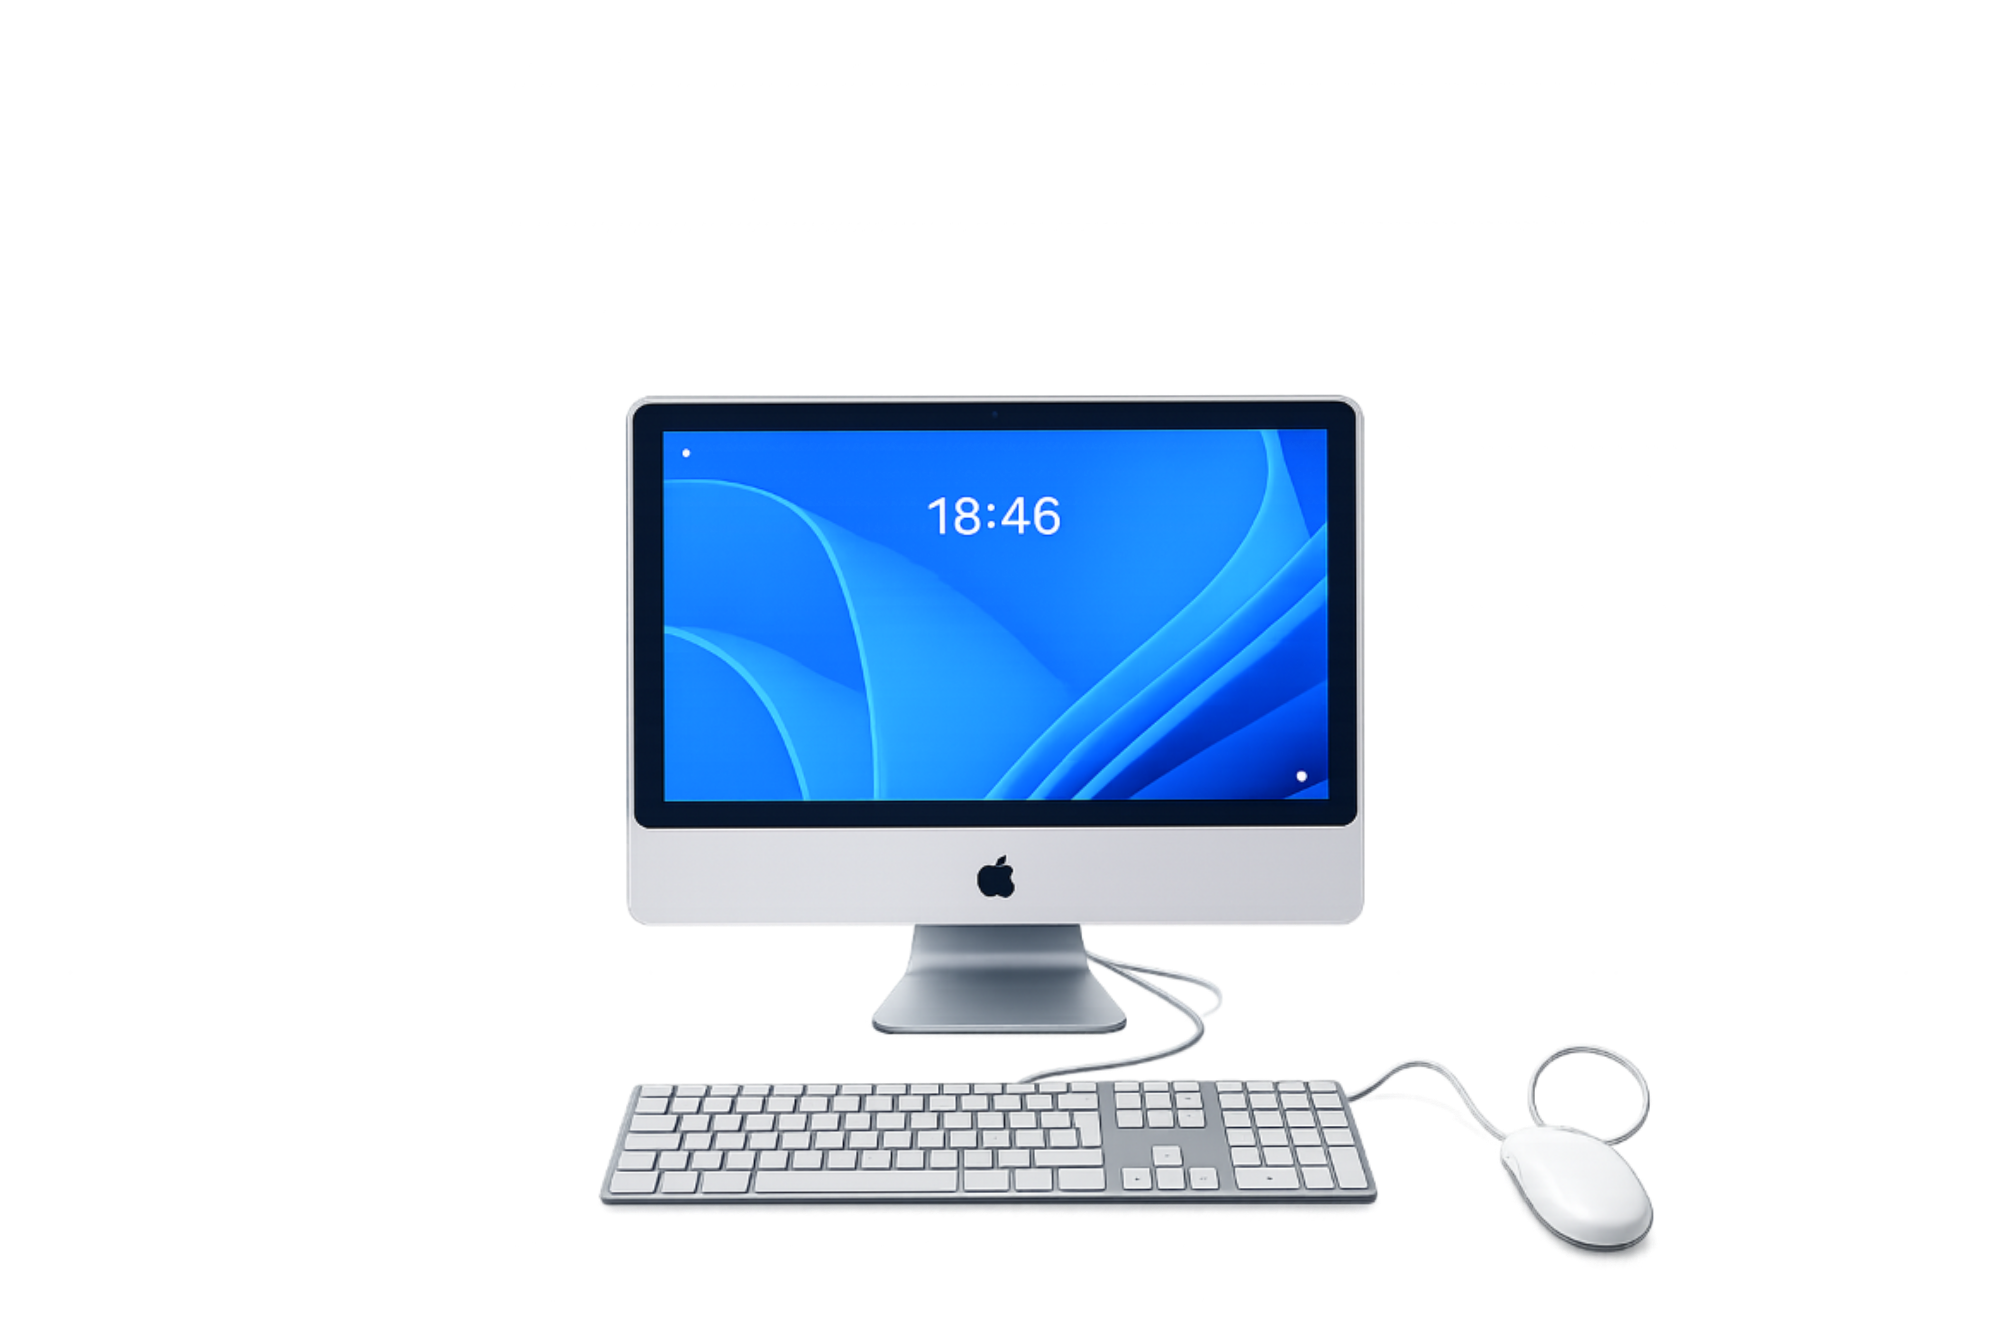
Alles begann mit einem iMac aus dem Jahr 2007. Vor dem Schrottplatz gerettet, stand dieses edle Stück Hardware vor mir – voll funktionsfähig, aber ohne OS-Support.
Tüfteln & Windows 11
Nach langem Tüfteln und Recherchearbeit gelang mir das Unmögliche: Ein voll funktionsfähiges Upgrade auf ein modernes Betriebssystem (Windows 11). Der iMac lief flüssig und erwachte zu neuem Leben.
Die UpMac Guides
Aus dieser Herausforderung entstand die Idee: Eine einfache, benutzernahe Anleitung zu schaffen, um anderen stundenlange Recherchen und Fehlversuche zu ersparen. Nachhaltigkeit beflügelt uns bis heute.

Erfolg in Zahlen gemessen
Erfolgreiche Upgrades
Bewertungen auf Trustpilot
Haben Sie noch offene Fragen?
Erfahren Sie mehr über unseren Prozess oder treten Sie direkt mit uns in Verbindung.
Zum KontaktformularGrundsätzlich fast alle Macs ab Baujahr 2008. Nutzen Sie einfach unseren Kompatibilitäts-Check auf der Startseite, um Ihr Modell direkt zu prüfen.
Es spart Kosten für teure Neuanschaffungen und verhindert unnötigen Elektroschrott. Ältere Macs besitzen oft exzellente Hardware, die mit moderner Software wieder Höchstleistungen erbringt.
Nein! Unsere Schritt-für-Schritt-Anleitung ist so aufgebaut, dass auch Laien das Upgrade problemlos und sicher durchführen können.
Get Your UpMac Guide
Upgrade safely with our step-by-step documentation, essential files, and premium 1-on-1 support.
Secure Checkout
Enter email & complete payment.
Check Inbox
Receive your auto-generated credentials.
Customer Login
Sign in to your secure web portal.
Follow & Upgrade
Follow steps to unlock your Mac's potential.
Your Details
Enter your email address twice to guarantee correctness. This is where your login information will be sent.
Payment Method
Choose your preferred secure payment method below to finalize your checkout.
Secure payment via Stripe. You'll be redirected to Stripe's checkout.
Payment Successful!
We've sent an email to containing your secure login credentials (password).
Go to Login PagePayment Successful!
Vielen Dank für deinen Kauf! Wir haben deinen Lizenzschlüssel per E-Mail gesendet — er ist zugleich dein Login-Passwort. Bitte prüfe dein Postfach (auch den Spam-Ordner).
Keine E-Mail erhalten? Schau im Spam-Ordner oder schreib uns an support@upmac.org.
Customer Login
If you already purchased a guide, you can log in here.
Loading your guide…
Wie können wir helfen?
Unser Team antwortet in der Regel innerhalb von 24 Stunden. Beschreibe dein Anliegen so genau wie möglich.
Antwortzeit
Innerhalb von 24 Stunden
Standort
München, Deutschland
System Status
All systems operational
Mit dem Absenden stimmst du unserer Datenschutzerklärung zu.
Impressum
Angaben gemäß § 5 DDG (Digitale-Dienste-Gesetz)
Alexandros Jusko
Münchener Straße 32
85748 Garching b. München
Deutschland
Kontakt:
E-Mail: support@upmac.org
Telefon: +1 (715) 312-1759
Umsatzsteuer:
Gemäß § 19 UStG (Kleinunternehmerregelung) wird keine Umsatzsteuer ausgewiesen. Es besteht keine Umsatzsteuer-Identifikationsnummer.
EU-Streitschlichtung
Die Europäische Kommission stellt eine Plattform zur Online-Streitbeilegung (OS) bereit: https://ec.europa.eu/consumers/odr/. Unsere E-Mail-Adresse findest du oben.
Verbraucherstreitbeilegung
Wir sind nicht bereit und nicht verpflichtet, an Streitbeilegungsverfahren vor einer Verbraucherschlichtungsstelle teilzunehmen.
Datenschutzerklärung
1. Verantwortlicher
Verantwortlich für die Datenverarbeitung auf dieser Website ist:
Alexandros Jusko, Münchener Straße 32, 85748 Garching b. München, Deutschland. E-Mail: support@upmac.org
2. Grundsätzliches
Wir behandeln deine personenbezogenen Daten vertraulich und entsprechend der gesetzlichen Datenschutzvorschriften (DSGVO, BDSG) sowie dieser Datenschutzerklärung. Der Kompatibilitäts-Check auf dieser Seite läuft vollständig lokal in deinem Browser; dabei werden keine Eingaben an uns übermittelt.
3. Hosting
Diese Website wird bei Vercel Inc. (340 S Lemon Ave #4133, Walnut, CA 91789, USA) gehostet. Beim Aufruf werden technisch notwendige Server-Logdaten (IP-Adresse, Datum/Uhrzeit, abgerufene Seite, Browsertyp) verarbeitet. Rechtsgrundlage ist unser berechtigtes Interesse an einem sicheren, stabilen Betrieb (Art. 6 Abs. 1 lit. f DSGVO).
4. Kauf, Lizenz & Zahlung
Für die Abwicklung von Käufen und die Lizenzverwaltung nutzen wir Supabase (Supabase Inc., USA) zur Speicherung von E-Mail-Adresse und Lizenzschlüssel sowie eines Download-Zählers (zur Missbrauchs-/Weitergabe-Vermeidung). Die Zahlung wickeln wir über Stripe (Stripe Payments Europe Ltd., Irland) ab; Zahlungsdaten (z. B. Kartendaten) werden ausschließlich von Stripe verarbeitet, wir erhalten diese nicht. Rechtsgrundlage ist die Vertragserfüllung (Art. 6 Abs. 1 lit. b DSGVO).
5. E-Mail-Versand
Zum Versand deiner Zugangsdaten und Kaufbestätigungen nutzen wir Resend (Resend, Inc., USA). Verarbeitet werden deine E-Mail-Adresse und der Nachrichteninhalt. Rechtsgrundlage: Vertragserfüllung (Art. 6 Abs. 1 lit. b DSGVO).
6. Kontaktformular
Wenn du das Kontaktformular nutzt, werden die von dir eingegebenen Daten (Name, E-Mail, ggf. Mac-Modell, Nachricht) zur Bearbeitung deiner Anfrage über den Dienst EmailJS (EmailJS, USA) verarbeitet. Rechtsgrundlage ist unser berechtigtes Interesse an der Beantwortung von Anfragen bzw. die Vertragsanbahnung (Art. 6 Abs. 1 lit. f und b DSGVO).
7. Lokale Speicherung
Wir setzen keine Tracking-Cookies ein. Technisch notwendige Angaben (z. B. Login-Sitzung, Sprach- und Theme-Auswahl) werden lokal in deinem Browser (localStorage/sessionStorage) gespeichert und nicht an Dritte übermittelt.
8. Drittlandübermittlung
Einige der genannten Dienste können Daten in den USA verarbeiten. Die Übermittlung erfolgt auf Grundlage von Standardvertragsklauseln bzw. eines Angemessenheitsbeschlusses (EU-US Data Privacy Framework), soweit vorhanden.
9. Deine Rechte
Du hast das Recht auf Auskunft (Art. 15), Berichtigung (Art. 16), Löschung (Art. 17), Einschränkung (Art. 18), Datenübertragbarkeit (Art. 20) und Widerspruch (Art. 21 DSGVO). Zudem besteht ein Beschwerderecht bei einer Aufsichtsbehörde. Wende dich für die Ausübung deiner Rechte an: support@upmac.org.
Stand: Juli 2026.
Allgemeine Geschäftsbedingungen
§ 1 Geltungsbereich & Anbieter
Diese Allgemeinen Geschäftsbedingungen (AGB) gelten für alle Verträge zwischen Alexandros Jusko, Münchener Straße 32, 85748 Garching b. München („Anbieter", „wir") und dem Kunden über die auf dieser Website (upmac.org) angebotenen digitalen Produkte. Es gelten ausschließlich diese AGB; abweichenden Bedingungen des Kunden wird widersprochen.
§ 2 Vertragsgegenstand
Gegenstand des Vertrages ist die Bereitstellung eines digitalen Schritt-für-Schritt-Leitfadens sowie einer Installer-Software, mit der Kunden ältere Apple-Hardware auf eine aktuellere macOS-Version aktualisieren können. Die Software nutzt das quelloffene Werkzeug „OpenCore Legacy Patcher". UpMac steht in keiner Verbindung zu Apple Inc.; „Mac", „macOS" und „Apple" sind Marken von Apple Inc.
§ 3 Vertragsschluss
Die Darstellung der Produkte stellt kein bindendes Angebot dar. Durch Anklicken des Bezahl-Buttons und Abschluss des Zahlungsvorgangs gibt der Kunde ein verbindliches Angebot ab. Der Vertrag kommt mit unserer Bestätigung bzw. der Bereitstellung der Zugangsdaten per E-Mail zustande.
§ 4 Preise & Zahlung
Es gelten die zum Zeitpunkt der Bestellung angegebenen Preise. Gemäß § 19 UStG (Kleinunternehmerregelung) wird keine Umsatzsteuer ausgewiesen. Die Zahlung erfolgt über den Zahlungsdienstleister Stripe mit den dort angebotenen Methoden. Der Kaufpreis ist sofort mit Vertragsschluss fällig.
§ 5 Bereitstellung & Lizenz
Die Bereitstellung erfolgt digital, in der Regel unmittelbar nach Zahlungseingang durch Übersendung der Zugangsdaten per E-Mail. Der Kunde erhält ein einfaches, nicht übertragbares Nutzungsrecht für den eigenen, privaten Gebrauch. Die Lizenz ist an ein Gerät gebunden (Geräte-Aktivierung); eine Weitergabe, Vervielfältigung oder öffentliche Zugänglichmachung der Inhalte ist nicht gestattet.
§ 6 Widerrufsrecht
Verbrauchern steht ein gesetzliches Widerrufsrecht zu. Einzelheiten ergeben sich aus unserer Widerrufsbelehrung. Bei digitalen Inhalten erlischt das Widerrufsrecht vorzeitig, wenn der Kunde ausdrücklich zustimmt, dass mit der Ausführung vor Ablauf der Widerrufsfrist begonnen wird, und bestätigt, dass er dadurch sein Widerrufsrecht verliert.
§ 7 Systemvoraussetzungen & Hinweise
Der Kunde ist selbst dafür verantwortlich, vor dem Kauf die Kompatibilität seines Geräts zu prüfen (Kompatibilitäts-Check auf der Startseite). Wir empfehlen dringend, vor jeder Systemänderung eine vollständige Datensicherung anzulegen. Modifikationen am Betriebssystem erfolgen auf eigenes Risiko des Kunden.
§ 8 Gewährleistung & Haftung
Es gelten die gesetzlichen Gewährleistungsrechte. Wir haften unbeschränkt für Vorsatz und grobe Fahrlässigkeit sowie für Schäden aus der Verletzung des Lebens, des Körpers oder der Gesundheit. Bei einfacher Fahrlässigkeit haften wir nur bei Verletzung einer wesentlichen Vertragspflicht (Kardinalpflicht) und begrenzt auf den vertragstypischen, vorhersehbaren Schaden. Eine weitergehende Haftung ist ausgeschlossen. Die Haftung nach dem Produkthaftungsgesetz bleibt unberührt.
§ 9 Schlussbestimmungen
Es gilt das Recht der Bundesrepublik Deutschland unter Ausschluss des UN-Kaufrechts; zwingende Verbraucherschutzvorschriften des Staates, in dem der Verbraucher seinen gewöhnlichen Aufenthalt hat, bleiben unberührt. Sollte eine Bestimmung unwirksam sein, bleibt die Wirksamkeit der übrigen Bestimmungen unberührt.
Stand: Juli 2026.
Widerrufsrecht
Widerrufsbelehrung
Widerrufsrecht. Du hast das Recht, binnen vierzehn Tagen ohne Angabe von Gründen diesen Vertrag zu widerrufen. Die Widerrufsfrist beträgt vierzehn Tage ab dem Tag des Vertragsschlusses.
Um dein Widerrufsrecht auszuüben, musst du uns (Alexandros Jusko, Münchener Straße 32, 85748 Garching b. München, E-Mail: support@upmac.org) mittels einer eindeutigen Erklärung (z. B. per Post oder E-Mail) über deinen Entschluss, diesen Vertrag zu widerrufen, informieren. Du kannst dafür das untenstehende Muster-Widerrufsformular verwenden, das jedoch nicht vorgeschrieben ist. Zur Wahrung der Widerrufsfrist reicht es aus, dass du die Mitteilung vor Ablauf der Widerrufsfrist absendest.
Folgen des Widerrufs
Wenn du diesen Vertrag widerrufst, haben wir dir alle Zahlungen, die wir von dir erhalten haben, unverzüglich und spätestens binnen vierzehn Tagen ab dem Tag zurückzuzahlen, an dem die Mitteilung über deinen Widerruf bei uns eingegangen ist. Für die Rückzahlung verwenden wir dasselbe Zahlungsmittel, das du bei der ursprünglichen Transaktion eingesetzt hast, es sei denn, mit dir wurde ausdrücklich etwas anderes vereinbart.
Vorzeitiges Erlöschen des Widerrufsrechts
Bei einem Vertrag über die Lieferung von nicht auf einem körperlichen Datenträger befindlichen digitalen Inhalten (Download-Guide/Software) erlischt das Widerrufsrecht, wenn du ausdrücklich zugestimmt hast, dass wir mit der Ausführung des Vertrags vor Ablauf der Widerrufsfrist beginnen, und du deine Kenntnis davon bestätigt hast, dass du durch diese Zustimmung mit Beginn der Ausführung dein Widerrufsrecht verlierst (§ 356 Abs. 5 BGB).
Muster-Widerrufsformular
An Alexandros Jusko, Münchener Straße 32, 85748 Garching b. München, E-Mail: support@upmac.org:
Hiermit widerrufe(n) ich/wir (*) den von mir/uns (*) abgeschlossenen Vertrag über den Kauf der folgenden digitalen Inhalte:
— Bestellt am (*) / erhalten am (*): ____________
— Name des/der Verbraucher(s): ____________
— Anschrift des/der Verbraucher(s): ____________
— Datum: ____________
— Unterschrift (nur bei Mitteilung auf Papier): ____________
(*) Unzutreffendes streichen.
Stand: Juli 2026.